How to Add a Trading Account & Track Brokerage (Step-by-Step)
1
Create Account
2
Add Trading Account
3
Record First Trade
How to Add a Trading Account & Track Brokerage
Adding a trading account to your Trading Journal allows you to track performance across different brokers like Zerodha or Angel One separately. This feature ensures your Trading Journal analytics reflect the true cost of doing business by automatically calculating brokerage fees.
Time: 2 minutes (Add your first trading account)Step-by-Step Trading Account Setup
Step 1: Open the Trading Accounts Dashboard
- Navigation: Sidebar → Trading Accounts → Add Account
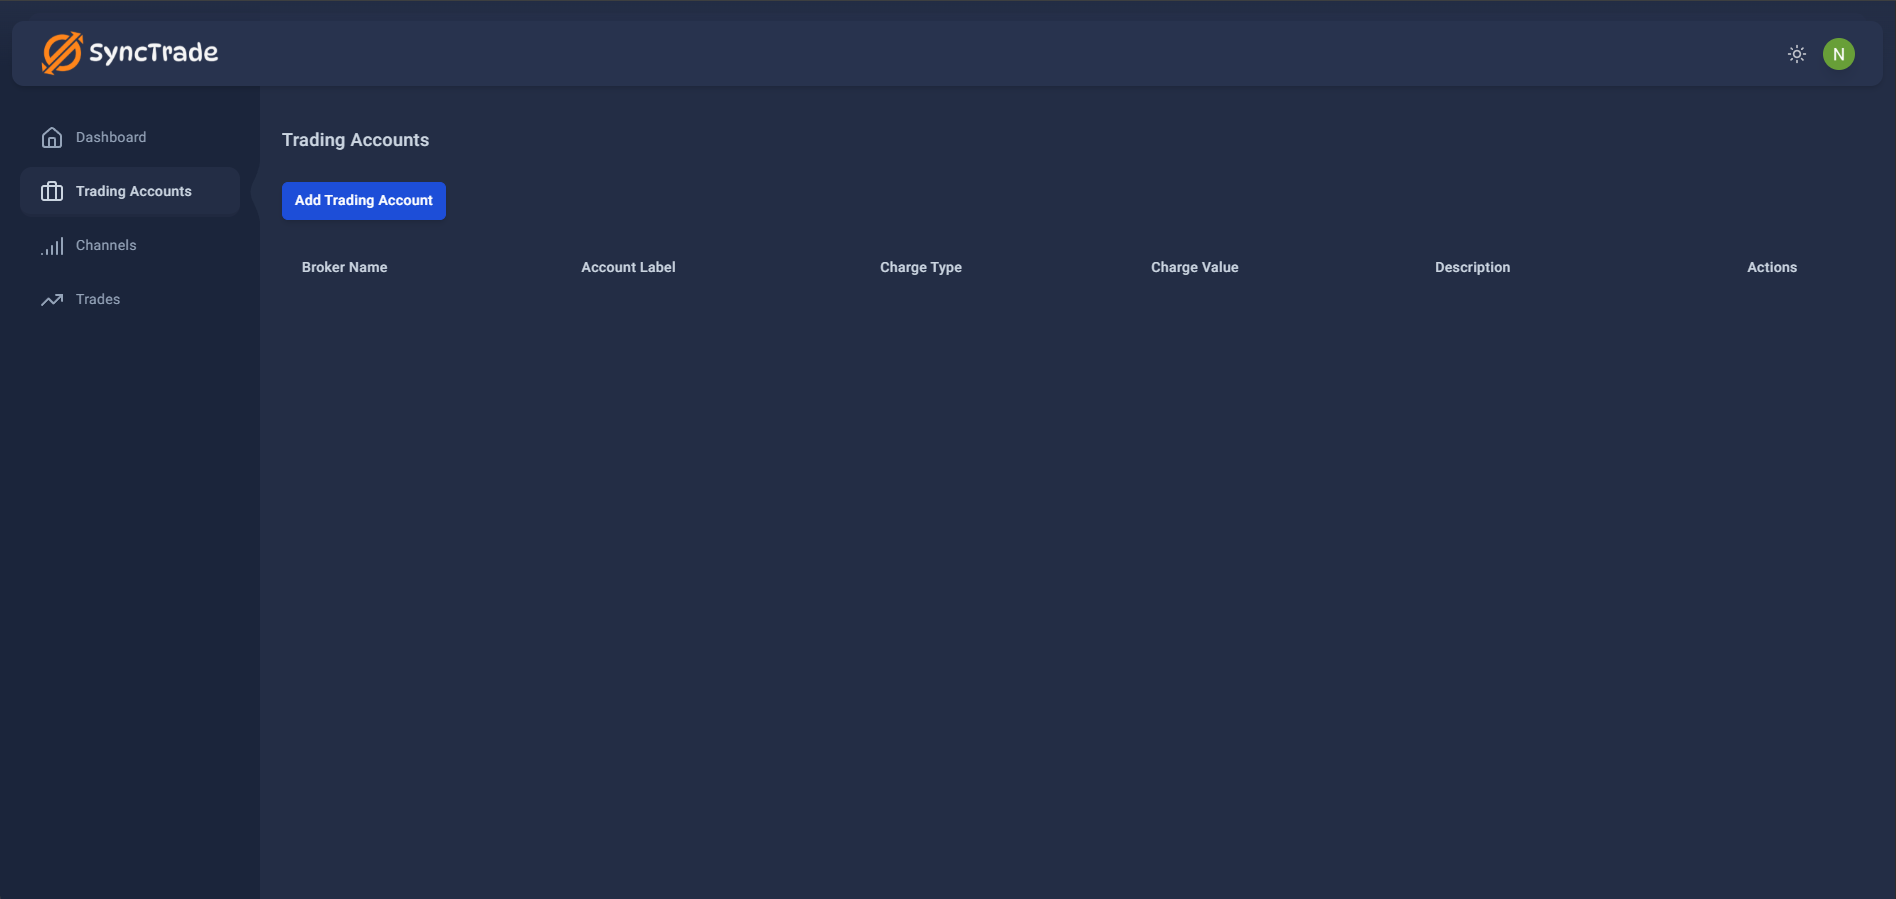
Click Add Account to start.
Step 2: Enter Broker and Fee Details
- Select Broker: Choose from dropdown (Zerodha, Angel One, Upstox, 5paisa, HDFC Securities, ICICI Direct) or select "Other".
- Account Label: Enter unique label (e.g., "Zerodha - Main", "Angel One") - optional, will use broker name if left blank.
- Brokerage Type: Select Flat or Percentage.
- Brokerage Value: Enter amount (Flat: ₹20, Percentage: 0.05).
- Description: Optional (e.g., "Long-term portfolio").
Step 3: Confirm and Add Account
- Click Add. Your account will now appear in the list showing Broker and Account Label.
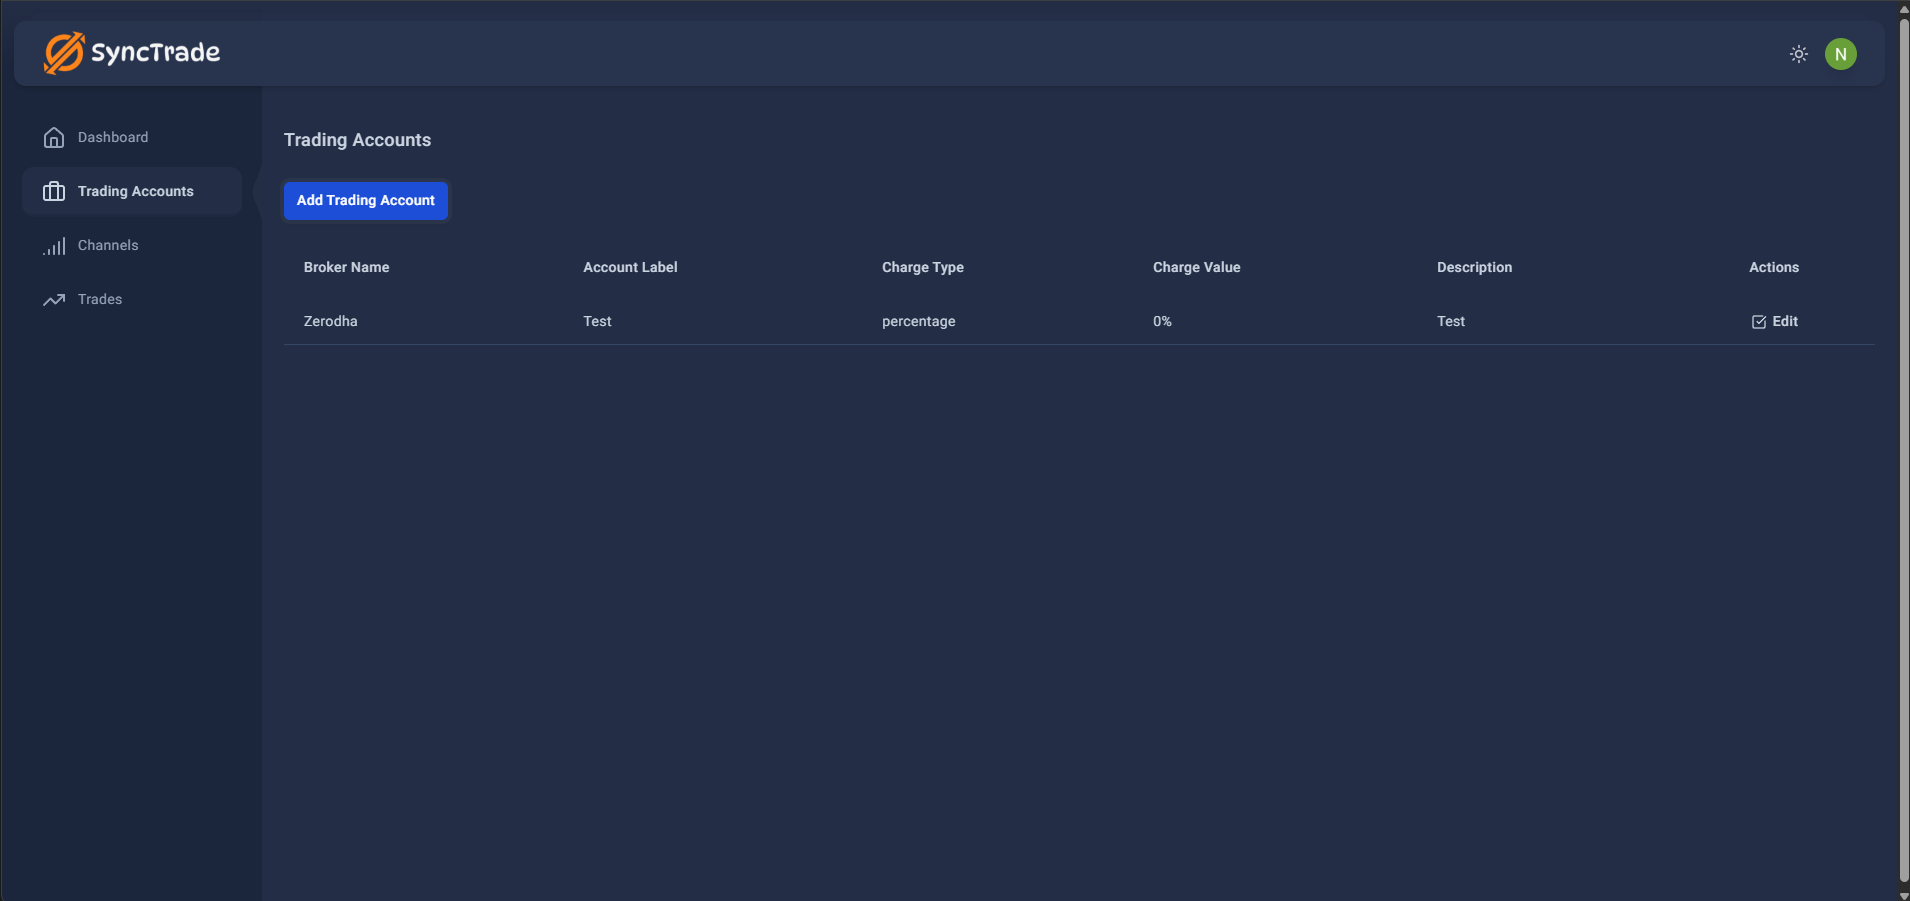
Click Add. Verify broker and account label are visible.
Validation Rules
- Account Label: optional (will use broker name if not provided), is recommended for clarity.
- Broker: required (use "Other" if not listed).
- Brokerage Value: numeric and consistent with selected type.
Best Practices
- Use descriptive labels for multiple accounts with same broker.
- Create separate accounts for different strategies (e.g., "Intraday", "Delivery").
- Keep brokerage values accurate for precise P&L calculations.
First Setup Checklist:
- Trading account created successfully ✅
- Verified account appears in list
- Record your first trade: /getting-started/recording-your-first-trade
- Explore advanced features: /features/channels
Tips for New Users:
- Start with one trading account to keep things simple—you can add more later.
- Account labels are optional—accounts will automatically use your broker name if you don't provide a custom label.
- Keep brokerage values accurate for precise profit/loss calculations.
What's Next
What's Next?
Troubleshooting
Frequently Asked Questions (FAQ)
What if my broker isn't listed?
You can select 'Other' from the broker dropdown.
How do I calculate my brokerage fees?
Check your broker's fee structure in your account settings or contact them directly.