How to Record Trades in Your Journal (Step-by-Step Guide)
How to Record Trades in Your Journal
Recording trades in your Trading Journal is the first step to mastering your psychology and strategy. SyncTrade's manual entry allows you to log every buy and sell execution with precision, ensuring your Trading Journal reflects your true performance.
Time: 3 minutes (Record your first trade manually)SyncTrade uses a unique trade structure where each trade can contain multiple executions (buy/sell transactions). This approach provides better analytics and matches how professional traders track their positions.
Step-by-Step Trade Entry Guide
Step 1: Open the Add Trade Drawer
Navigation: On the Trades page, select Add Trade. A drawer opens to start your entry.
What you'll see: Step 1 shows the Details form with Instrument, Account, and an optional Channel.
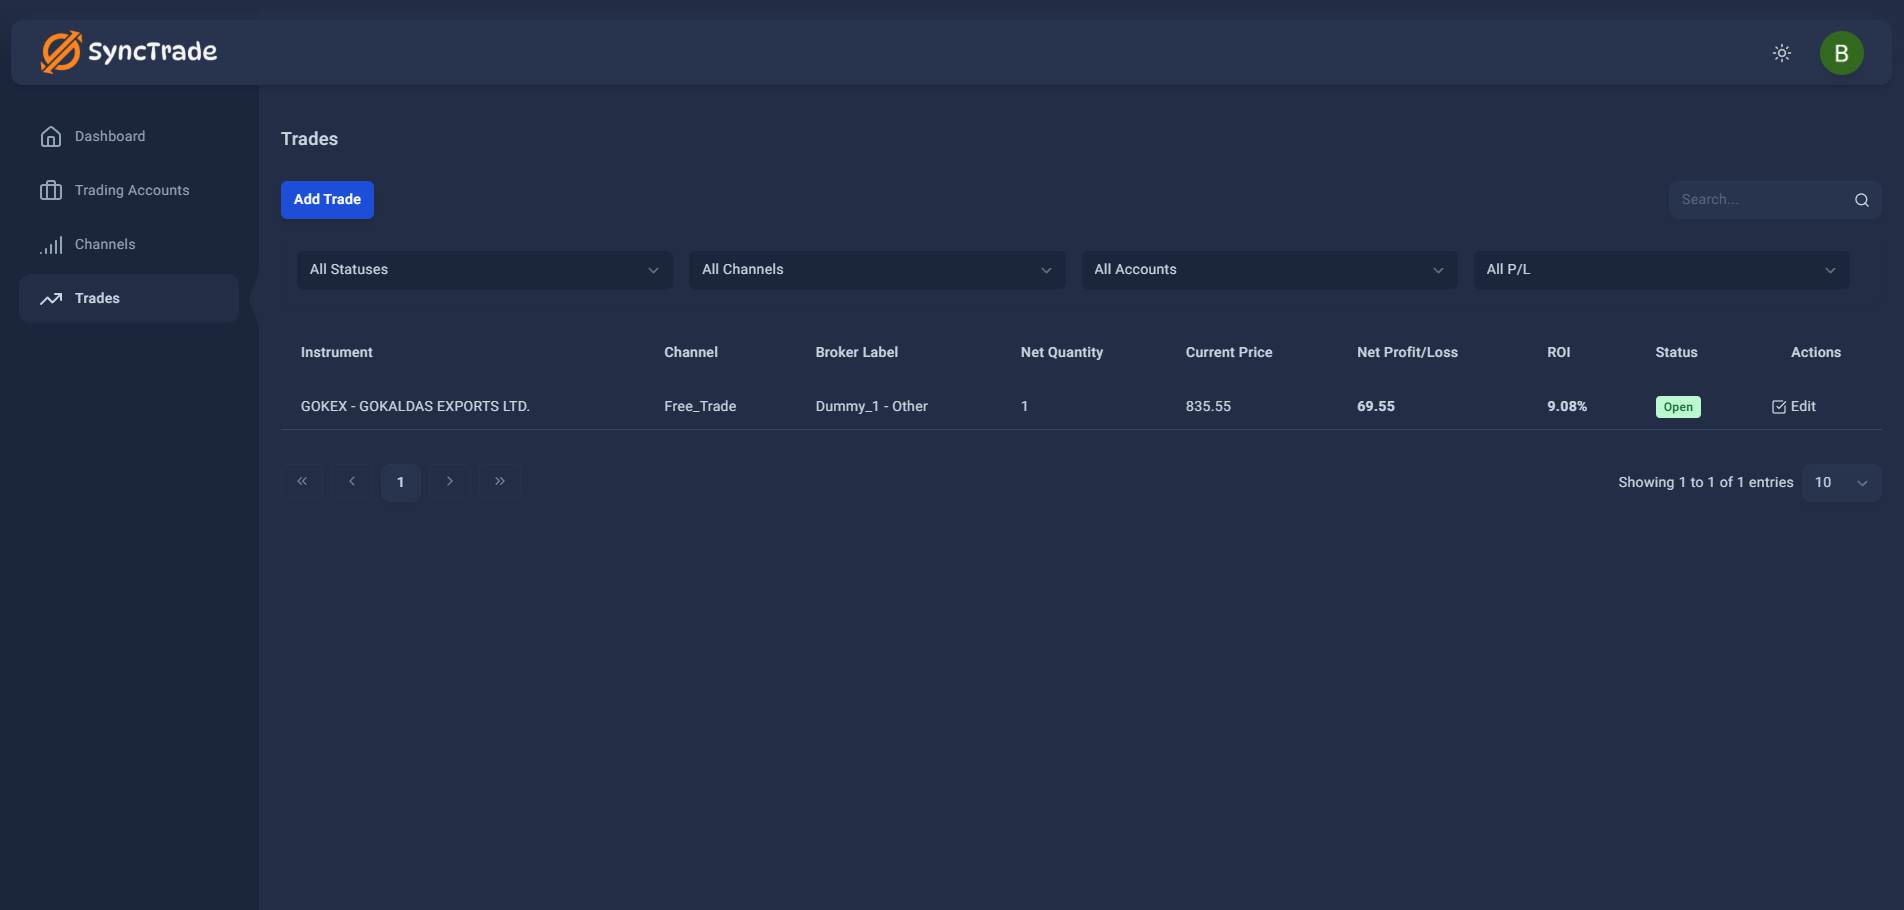
Click the blue 'Add Trade' button to start recording a new trade.
Step 2: Enter Trade Details
Instrument
Field: Instrument Placeholder: Start typing symbol or company name Tip: Use ↑↓ to navigate the list, Enter to select Required: Yes
Account
Field: Account Placeholder: Select a trading account Required: Yes
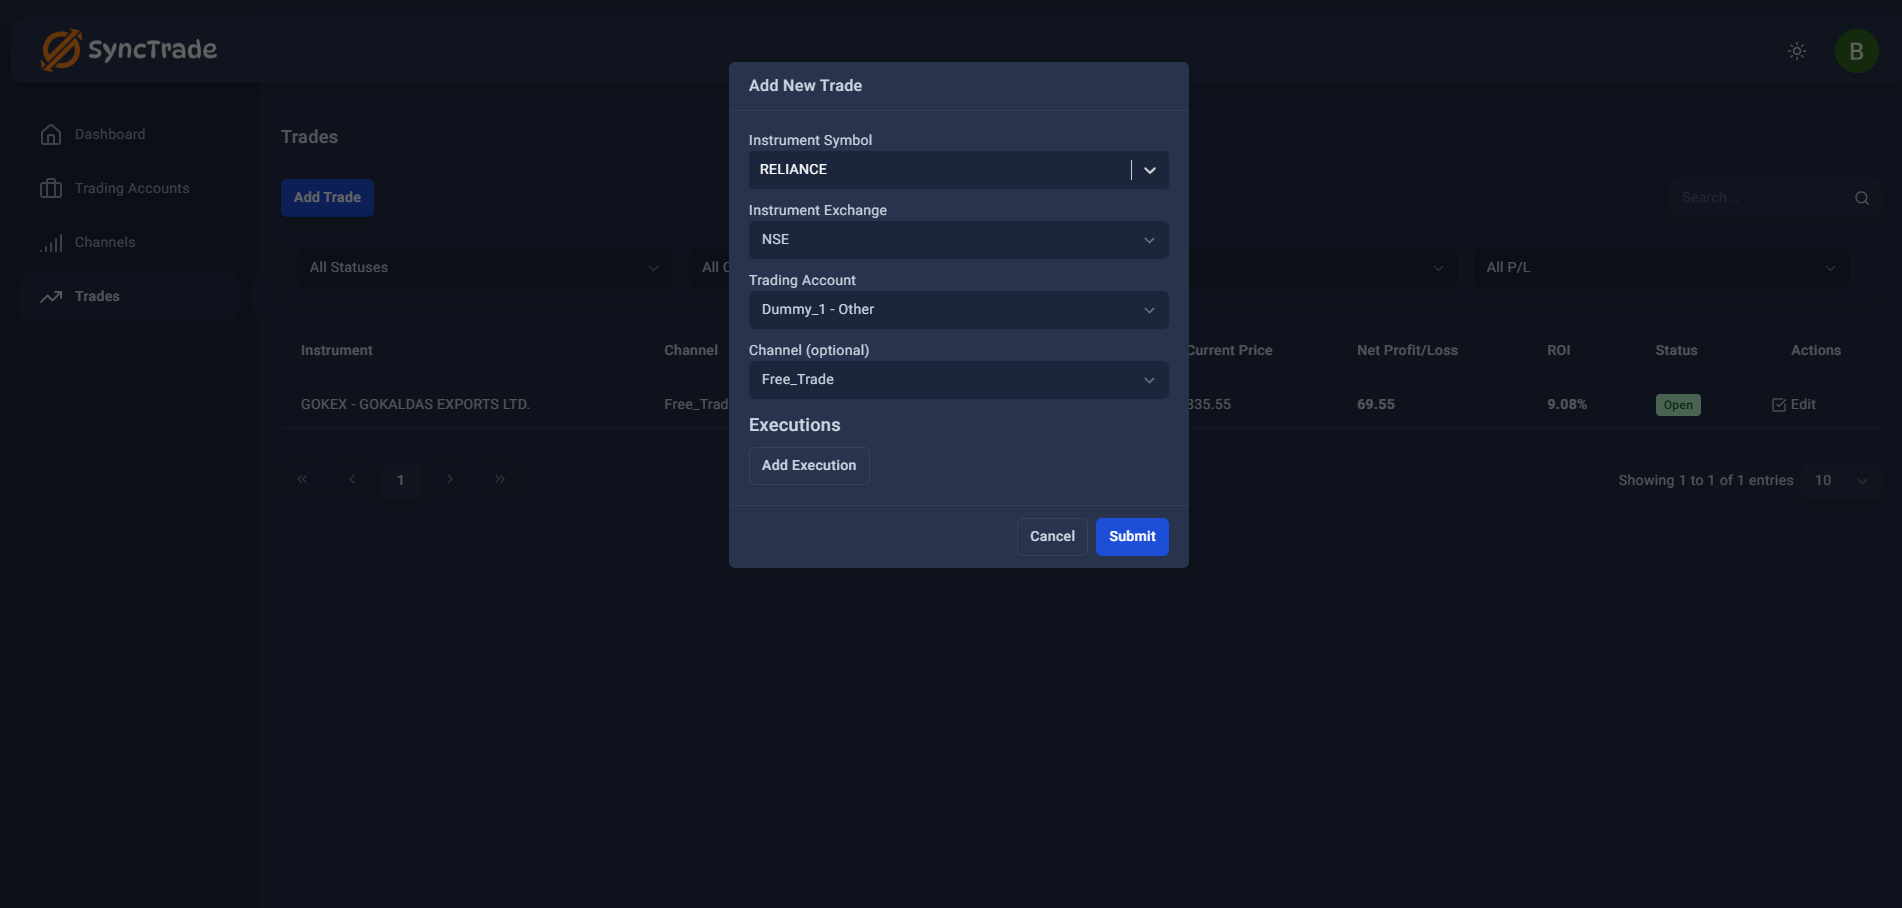
Channel (optional)
Field: Channel Placeholder: Select a channel (optional)
Action
Click Next to continue.
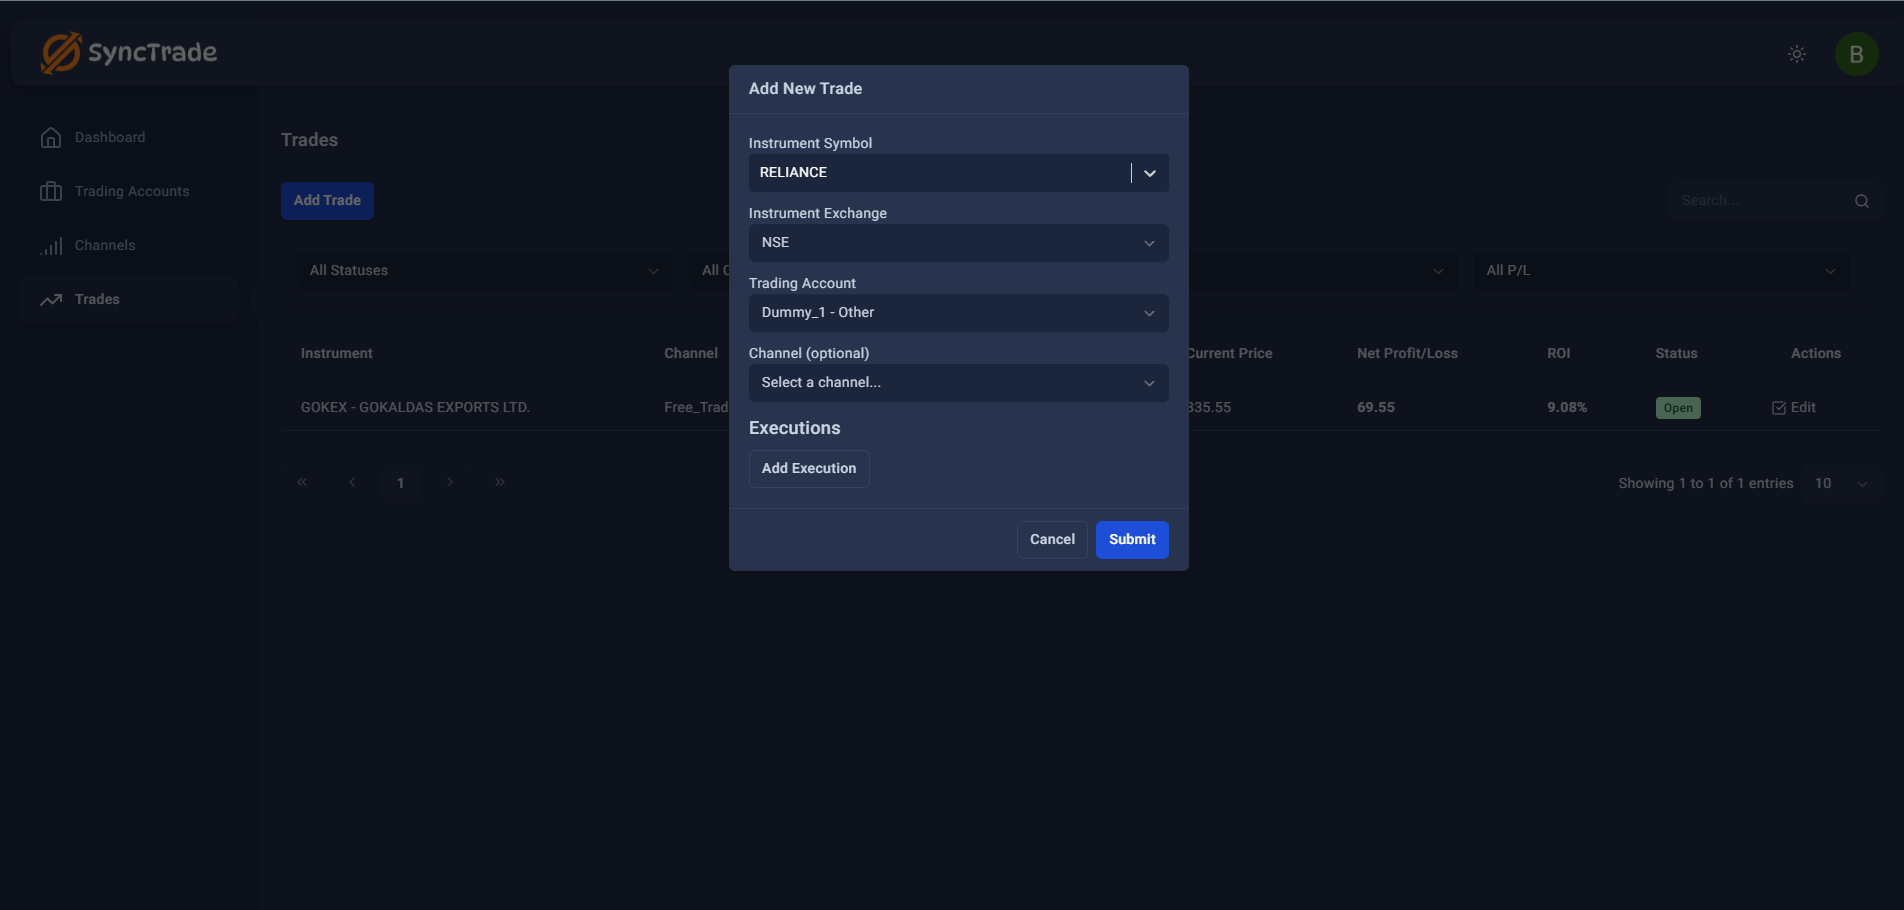
Fill in the basic trade information before adding executions.
Step 3: Log Buy and Sell Executions
Type
Options: Buy, Sell (default Buy)
Quantity
Format: Integer, minimum 1; Placeholder: 0
Price
Format: Decimal, minimum 0.01 (max 2 decimals); Placeholder: 0.00; Unit: ₹
Fees (optional)
Format: Decimal, cannot be negative; Placeholder: 0.00; Unit: ₹
Date
Format shown: dd-mm-yyyy; cannot be in the future
Actions
Select Add another execution to include more transactions Select Next to review
Click 'Add Execution' to record your buy or sell transaction.
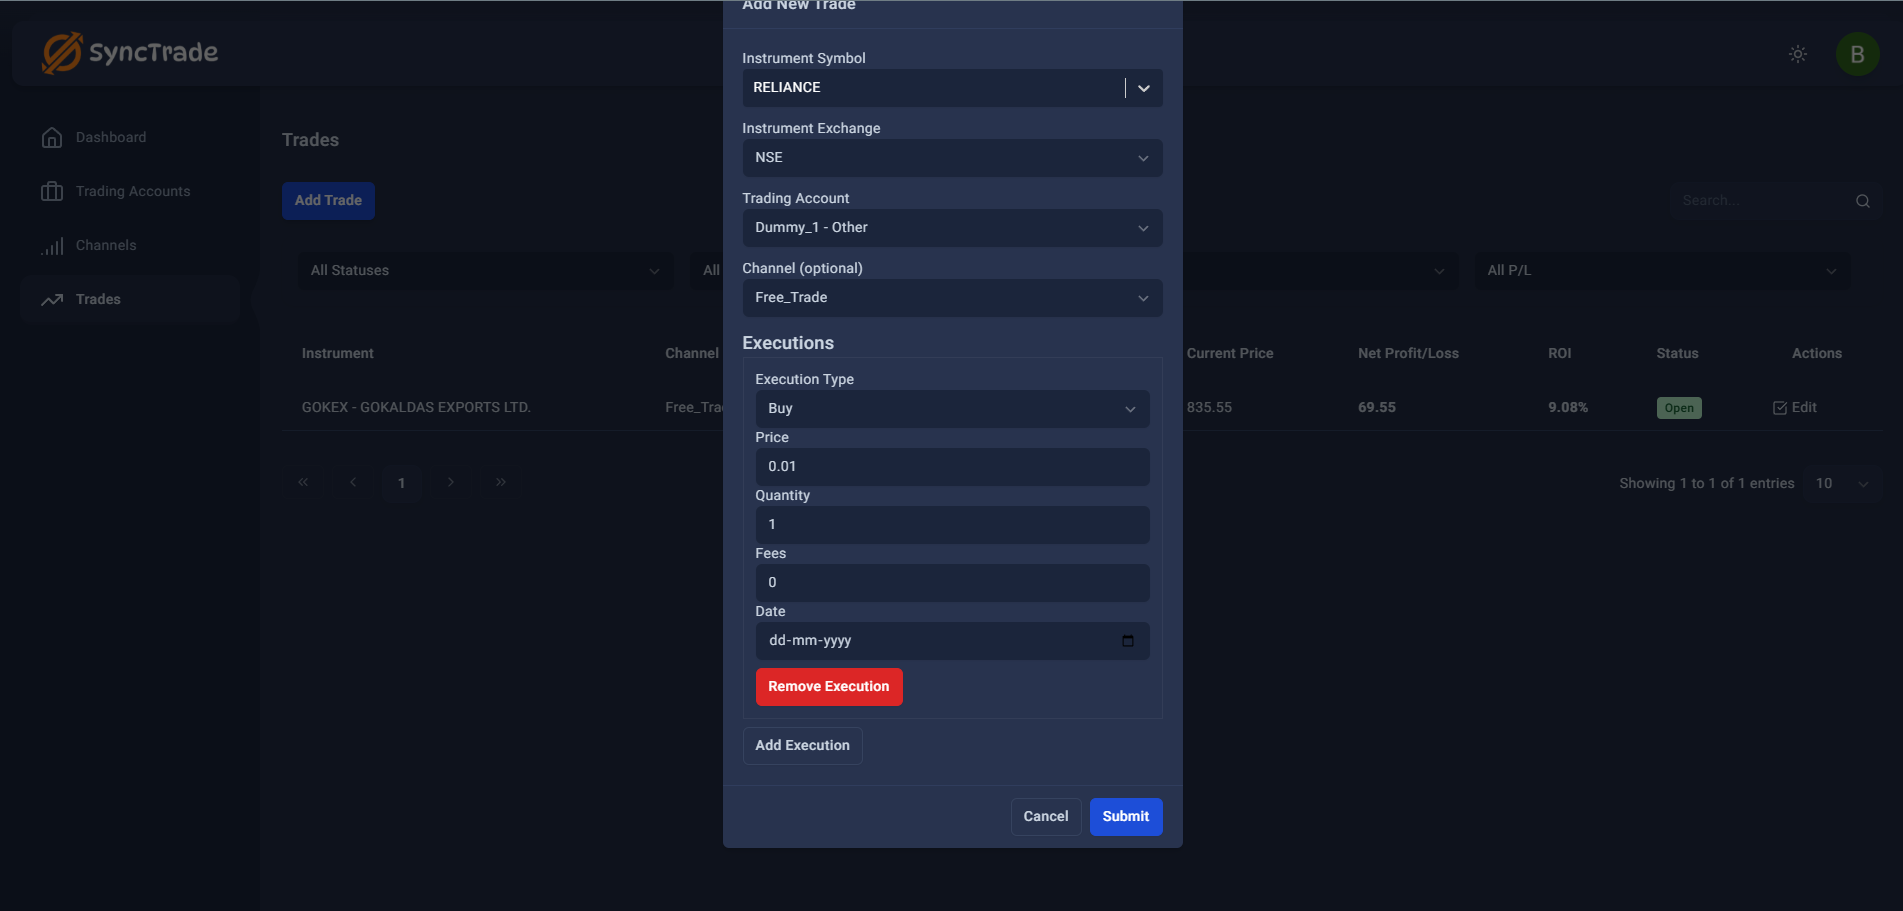
Complete all execution fields with accurate trade information.
Step 4: Review and Save Your Trade
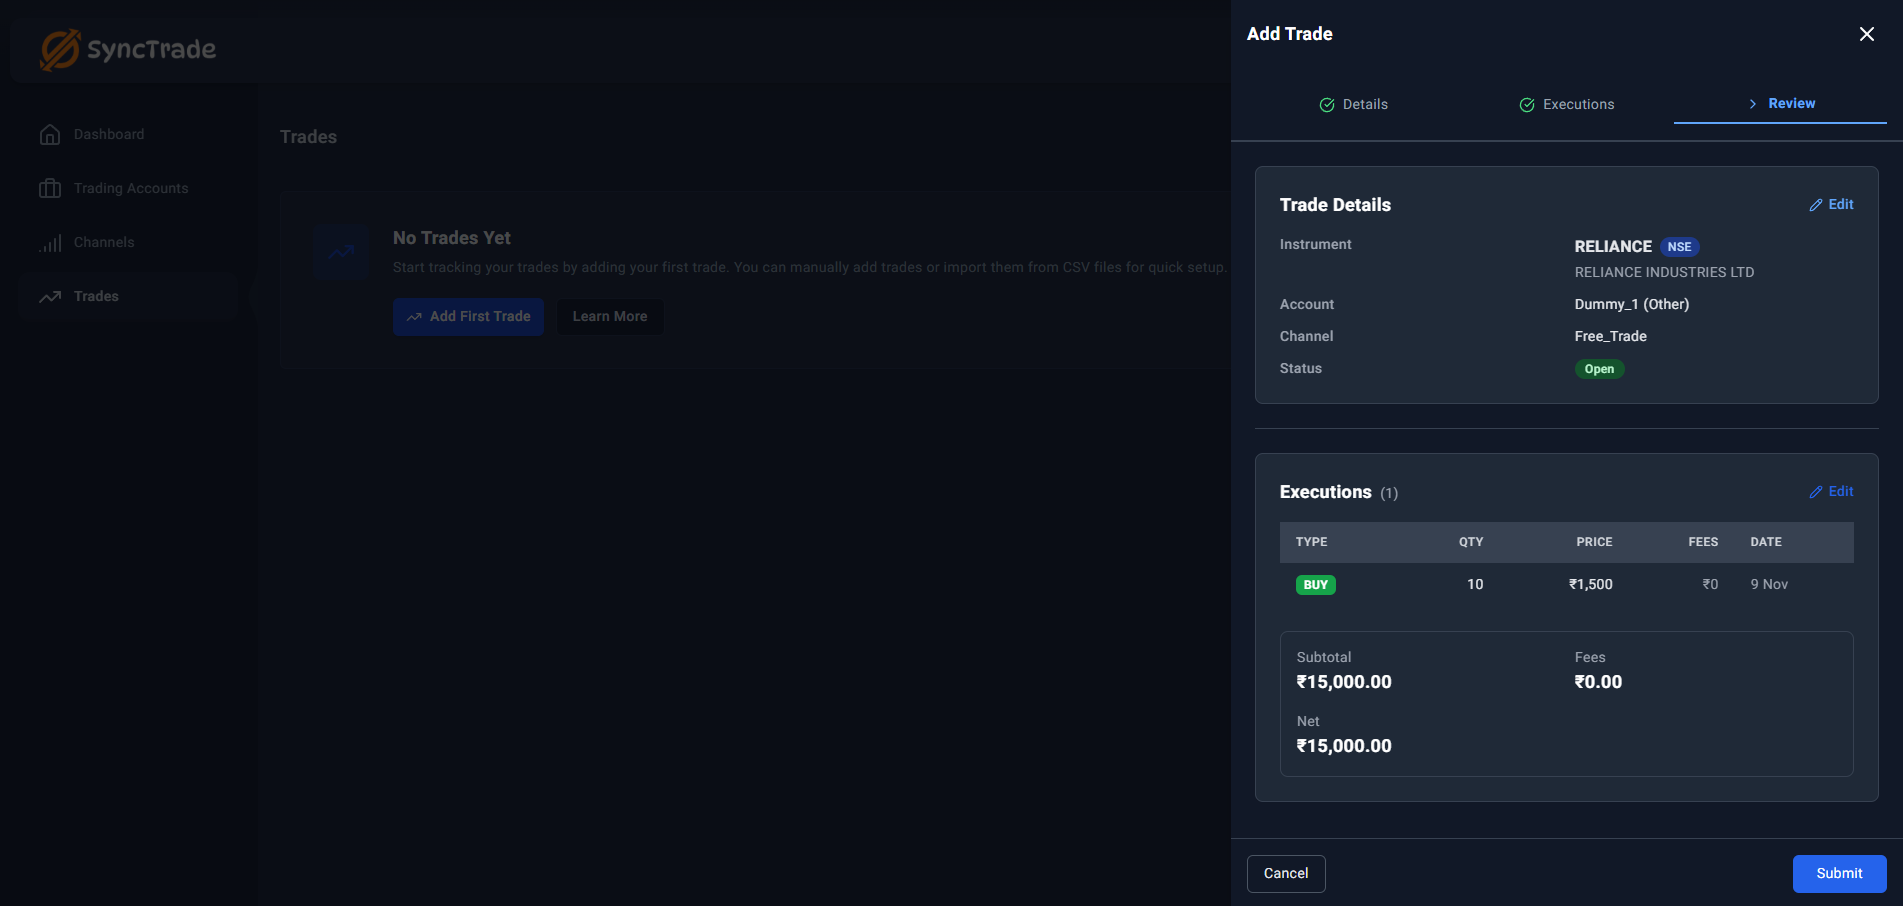
Review your details, then select Submit to create the trade.
Confirm your instrument, account, and each execution's quantity, price, fees, and date. Select Submit to create the trade or Back to make changes. A success message appears: "Trade created successfully!"
Step 5: Verify trade in list
Location: Trades page Columns: Instrument, Channel, Broker Label, Net Quantity, Current Price, Net Profit/Loss, ROI, Status, Actions Status values: Open, Closed Calculated fields: P&L, ROI Row actions: Edit, Delete

Your new trade appears in the trades list with calculated P&L and ROI.
Understanding trade structure
Trades vs Executions
Trade: The overall position in a stock (for example, a position in RELIANCE) Execution: A single buy or sell inside that position Why it helps: You can record multiple entries and exits for better P&L and ROI tracking
Example
Create a trade for RELIANCE Add execution: Buy 10 shares at ₹2,500 Later add execution: Buy 5 shares at ₹2,600 The position and average price update automatically
Validation rules
Instrument: Instrument is required—start typing to search. Fix: Enter a valid symbol or name and select from the list.
Account: Account is required—select an account. Fix: Open the dropdown and choose an account.
Quantity: Quantity must be at least 1. Fix: Enter a whole number ≥ 1.
Price: Price must be at least 0.01. Fix: Enter a decimal ≥ 0.01 (max 2 decimals).
Fees: Fees cannot be negative. Fix: Use 0.00 if you don't want to add fees.
Date: Date cannot be in the future. Fix: Pick today or a past date.
Best practices for Indian stock trading
Indian equities context
Supported exchanges: NSE, BSE Symbol search: Start typing a symbol or company name; recent instruments appear first Tip: Use ↑↓ to navigate and Enter to select
Symbol search tips
- Use official NSE/BSE symbols (e.g., "RELIANCE" not "RIL")
- Try company names if symbols don't work (e.g., "Reliance Industries")
- Most large-cap stocks are readily available in search
Execution recording
- Record trades same day for accuracy
- Include all charges (brokerage, STT, stamp duty)
- Use exact prices from your broker's contract note
- Add notes for strategy or reasoning
Account organization
- Use descriptive trading account names
- Consider separate accounts for different family members
- Utilize channels to group trades by strategy
What's next
What's Next?
First trade checklist
- Trade created successfully ✅
- Instrument selected from search
- Account selected
- At least one execution added (Buy or Sell)
- Quantity and price entered correctly
- Fees reviewed or set to 0.00
- Trade visible in list with correct status
Tips for new users
- Start Simple: Record one straightforward equity trade first
- Use Major Stocks: Try large-cap stocks like RELIANCE, TCS, INFY for easier symbol search
- Check Your Broker: Verify details against your actual contract note
- Multiple Executions: You can add more buy/sell executions to the same trade later
Troubleshooting
Frequently Asked Questions (FAQ)
Can't find the symbol?
The search lists recent instruments and matches symbols and company names.
Date error?
Future dates aren't allowed.
Quantity or price not accepted?
Quantity must be ≥ 1 and price ≥ 0.01 with up to 2 decimals.
Picked the wrong account?
You can edit trades after saving.